What Does It Do
The importer allows you to open a Cyber Triage incident in Autopsy.
Setup
In order to give Autopsy the ability to open Cyber Triage incidents, you must first install the Cyber Triage Autopsy Importer plugin in Autopsy. First, go to the Integrations tab in the Options panel.

Click the ‘Export Plugin’ button, and select a directory to export the plugin file.
Close Cyber Triage and open Autopsy. In Autopsy, go to the ‘Plugins’ menu under ‘Tools’.

Go to the ‘Downloaded’ tab, and click ‘Add Plugins…’.
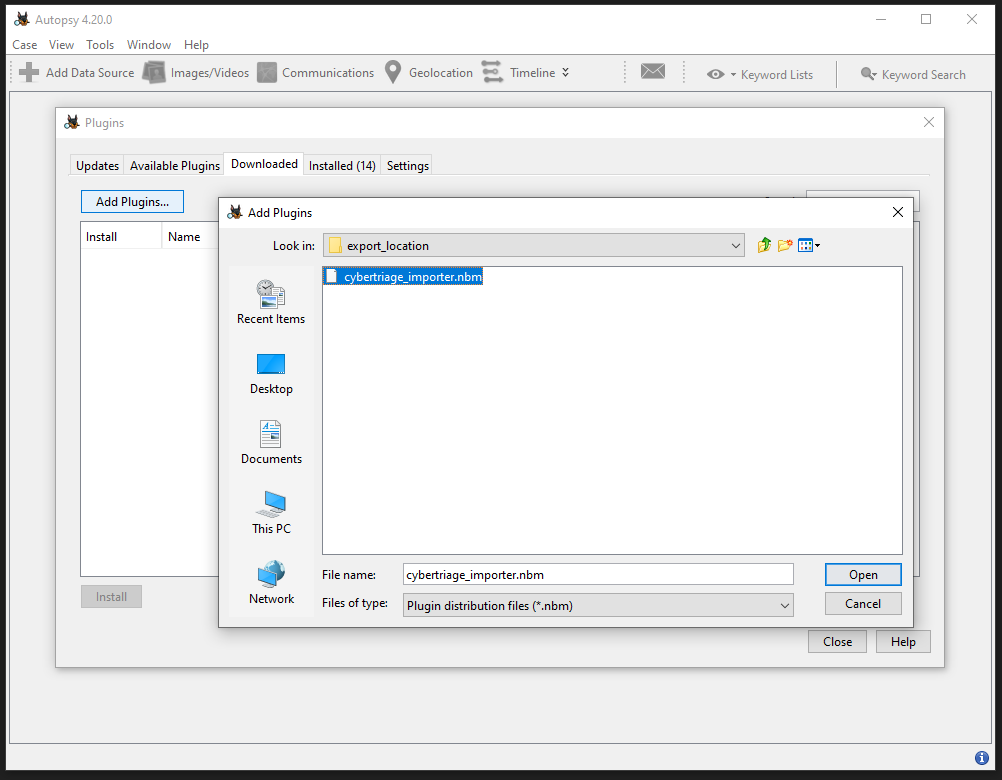
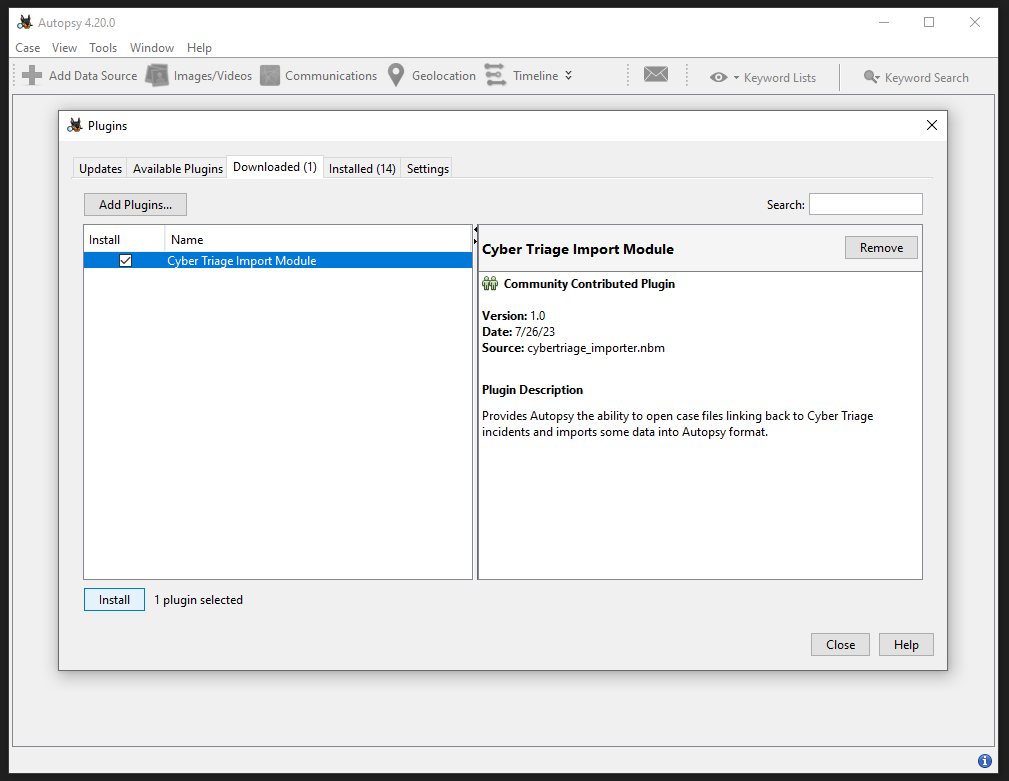
Select the plugin and click ‘Install’.
Data Folder
You may wish to configure the Data Folder so that Autopsy can find Cyber Triage file content. Select the ‘Options’ menu option from the ‘Tools’ menu, and go to the ‘Cyber Triage’ tab.
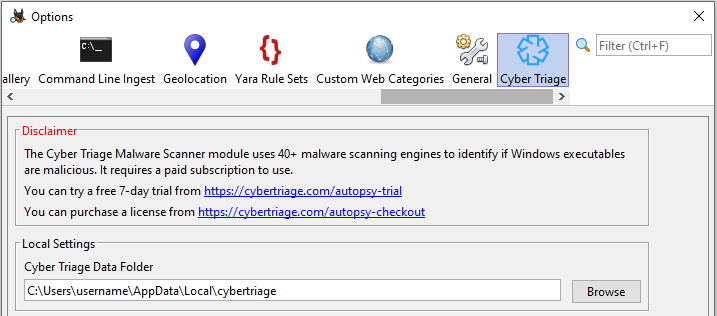
Ensure that the Data Folder is the same in Cyber Triage. For a typical install, the Data Folder will be located at ‘C:\Users\\AppData\Local\cybertriage’.
Viewing a Cyber Triage Incident in Autopsy
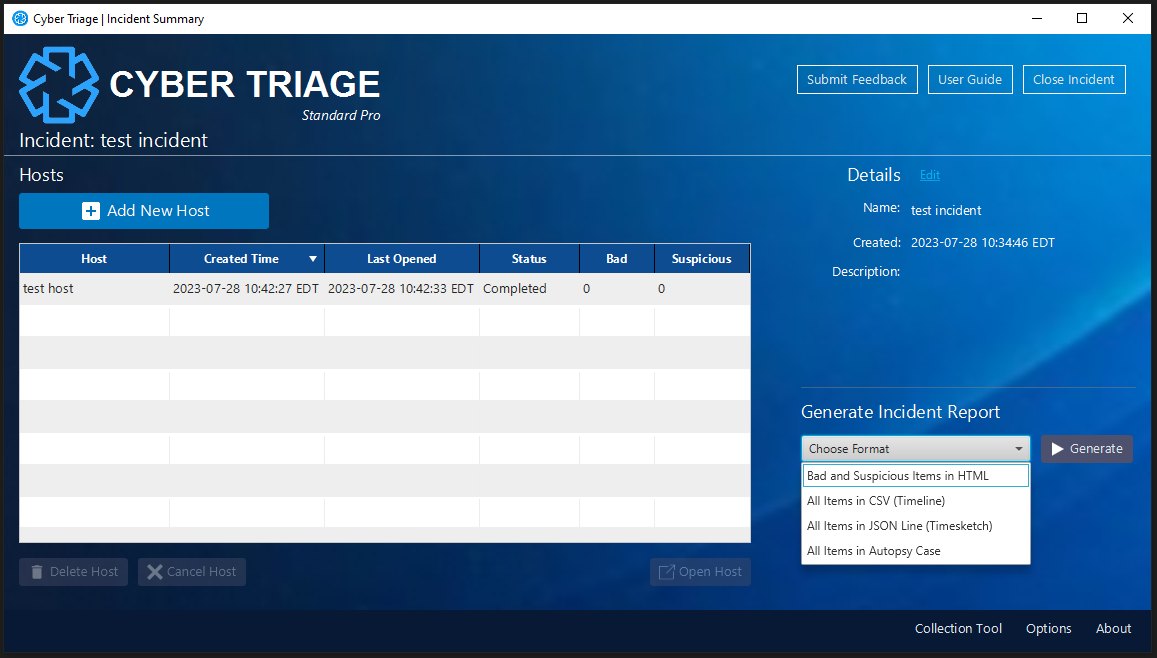
From the incident dashboard, select the ‘All Items in Autopsy Case’ menu option, and select your Autopsy cases directory. This will generate a directory for the case along with the Autopsy case file.
Close Cyber Triage, and open Autopsy. From Autopsy, you should now be able to open the exported case.
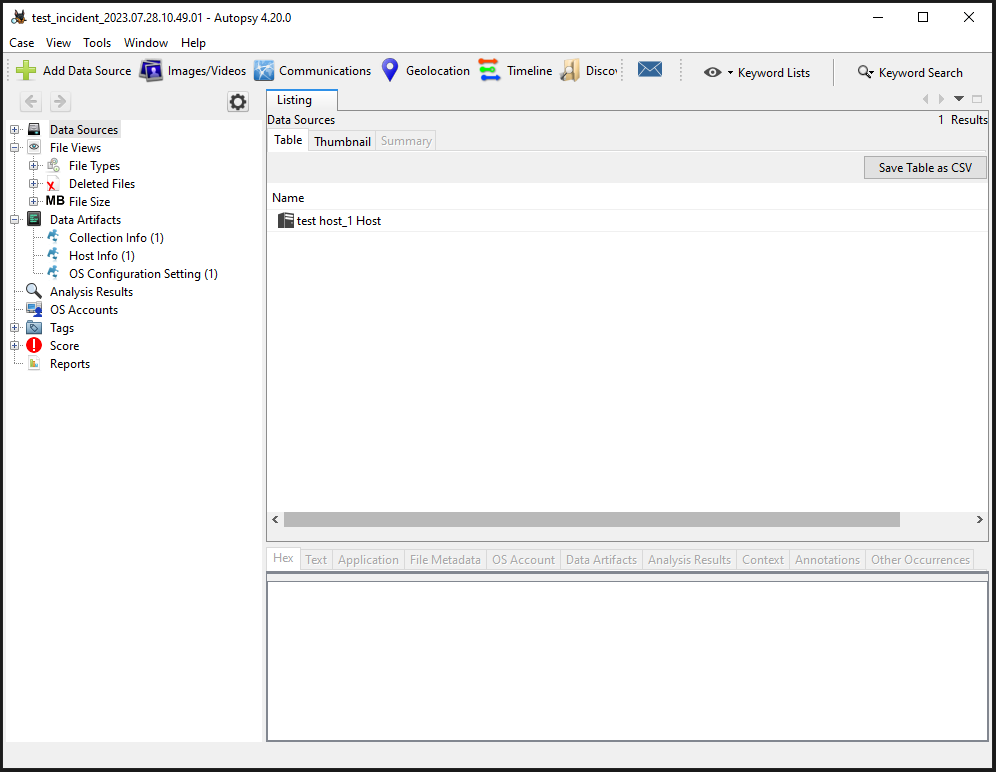
Supported Functionality
At this time, the following functionality is supported:
- See Cyber Triage data From Standard in Autopsy
- Perform Keyword search in Autopsy
- View Timeline in Autopsy
| Capability | Supported |
| See Cyber Triage data From Standard in Autopsy | Yes (as of 3.8) |
| See Cyber Triage data from Team in Autopsy | No |
| See Autopsy-created data in Cyber Triage | Partial (as of 3.8) |
| Keyword search in Autopsy | Yes (as of 3.8) |
| Timeline in Autopsy | Yes (as of 3.8) |
| Run Autopsy and Cyber Triage simultaneously | No |